
Last updated November 18, 2026








Free written scope consultation - allowances, timeline, and change-order rules on paper before a single trade is scheduled
General Contractor Maintenance Schedule: What to Do and When
Your contractor probably never told you that the caulk joint where your new tile meets the existing drywall needs to be checked at 12 months. Not because they were hiding something, but because almost no one in the industry hands homeowners a post-project calendar at closeout. A finished remodel introduces new materials, new connections and new transitions, and each one has a predictable maintenance window. This guide gives you that schedule, organized by month and material, written for the homes we work in around Frisco.
Quick Answer
After a remodel, most of the maintenance that protects your warranty and your investment happens in months 1, 6 and 12, then annually. Inspect caulk joints and grout at month one, check door and cabinet hardware and siding fasteners at six months, and re-check every sealant transition at twelve months before your workmanship guarantee comes to its one-year mark.
Styles & brands we work with
- Kitchen remodeling
- Bathroom remodeling
- Home additions & ADU
- Roofing
- Windows & doors
- Driveway & pavers
- Fence
Table of Contents
- Why a Finished Remodel Still Needs a Schedule
- The Month-by-Month Calendar for the First Year
- Which Tasks Void a Manufacturer Warranty if You Skip Them
- Clay Soil, Foundation Movement and Your Remodel Joints
- Contractor-Responsible Defects vs. Owner Maintenance
- How to Document What You’ve Done
- The Annual Checklist After Year One
Why a Finished Remodel Still Needs a Schedule
A remodel doesn’t end the maintenance conversation. It resets it. New materials come with their own manufacturers’ requirements, and those requirements don’t care that the workmanship guarantee is still active. If the manufacturer says the fiber cement siding needs to be checked for loose fasteners and repainted on their interval, skipping that step can void their warranty even when we’d still honor ours.
Here in Frisco, the pressures are specific. Our soil is heavy clay that swells after rain and shrinks through the dry summer. Summer temperatures push past 100°F regularly, and the freeze events we get in February are the ones that find every weak sealant joint. A house in Starwood, on a lot with mature trees and shifting moisture, behaves differently than a newer build out toward Richwoods.
We’ve seen this play out. In a master bath we finished off Eldorado Parkway, the caulk line at the tub apron looked perfect at handoff. By month fourteen it had cracked, not because the caulk failed but because the clay under the foundation had moved a quarter inch and the joint took the stress. That’s not a defect. That’s a maintenance item, and knowing to look for it early keeps it from becoming a repair.
The Month-by-Month Calendar for the First Year
This is the schedule we’d hand you at closeout if everybody did that. Treat it as your baseline, then adjust for what was actually installed.
Month 1
- Walk every caulk joint – tub and shower corners, backsplash edges, window trim – and note any that pull away. Fresh caulk can shrink as it cures.
- Check grout lines in new tile for pinholes or cracking, especially on shower floors.
- Test every cabinet door, drawer and soft-close hinge through a full open-and-close cycle. Hardware settles.
- Note the date on your written price and guarantee paperwork. Write it on the calendar.
Month 3
- Look at the cement board substrate transitions behind any new tile – check for soft spots or discoloration at the base of shower walls.
- Check luxury vinyl plank flooring at doorways and transitions for lifting or gapping. LVP expands and contracts as humidity changes.
Month 6
- Re-snug cabinet hardware and door hinges. Screws on soft-close mechanisms back out with use.
- Check fiber cement siding fasteners and the paint film around south- and west-facing walls – that’s where UV hits hardest in Frisco.
- Inspect the caulk joint between countertops and backsplash. It’s a high-traffic sealant line.
Month 12
- Full re-inspection of every sealant transition in kitchens and baths. This is the check almost nobody does, and it’s the one your 365-Day Done Right Promise window makes worth doing.
- Look at the joint where new flooring meets existing flooring in adjacent rooms. Foundation movement shows up here first.
- Check exterior door thresholds and any new weatherstripping before the next cold season.
Which Tasks Void a Manufacturer Warranty if You Skip Them
This is the part homeowners get surprised by. Your workmanship guarantee and a manufacturer’s material warranty are two separate things, and one doesn’t cover the other.
- Fiber cement siding (James Hardie): requires periodic inspection and repainting on the manufacturer’s schedule. Let paint fail and moisture get behind the board, and the material warranty can be denied even if our installation was perfect.
- Grout and sealant: most grout manufacturers require sealing at their stated interval. Skipping it and letting moisture penetrate isn’t installation failure.
- Luxury vinyl plank: requires the subfloor and humidity to stay in the manufacturer’s range. Standing water or prolonged damp voids coverage.
- Countertop surfaces: quartz like Cambria, Silestone and Caesarstone resists staining better than natural stone, but the surface warranty still expects you to clean with the products the maker specifies and avoid setting hot pans directly on it.
- Cabinetry (KraftMaid, Wellborn): requires reasonable humidity control. A bathroom that stays above the manufacturer’s humidity range for months at a time isn’t a cabinet defect.
Keep the manufacturer documentation for every material that came into your project. If you can show it was maintained on schedule, you’ve done your part. Our written guarantee stays active regardless, and if a repair fails inside the year we come back and fix it at no charge.
Clay Soil, Foundation Movement and Your Remodel Joints
North Texas clay does something to a house that most buyers never consider: it moves the foundation, and the remodel joints absorb the movement first. When a home was finished last spring and the soil dried out through a Frisco summer, the interior joints – caulk lines, tile transitions, the seam where new flooring meets old – take the stress before anything else does.
What to watch, and when to call:
- Hairline cracks in corner caulk that reappear within weeks of re-caulking: normal, re-caulk once and watch.
- A cracked tile with a matching crack on the opposite wall: verify the foundation with a structural engineer before assuming it’s cosmetic.
- Doors that stick in one season and free up in another: seasonal movement is common and usually resolved by humidity control.
- A gap that grows month over month between new flooring and baseboard: note the measurement date to date, and call if it more than doubles in a season.
- Water pooling against the foundation after our spring storms: fix the drainage first, because that’s the cause, not the symptom.
We’ve seen foundation movement show up at remodel joints across neighborhoods like Newman Village and Phillips Creek Ranch. When it does, the right call is usually a structural engineer’s report, not a bigger caulk bead. We’ll tell you which one you’re looking at, and we don’t charge for that conversation.
Contractor-Responsible Defects vs. Owner Maintenance
The line is clearer than most people think. A defect is something that was installed wrong or failed within its workmanship window. Maintenance is something the material needs over time regardless of who installed it.
- Defect: grout that cracks in a brand-new shower floor within weeks because the substrate shifted at install. Maintenance: grout that cracks at 18 months because it was never sealed.
- Defect: a cabinet door that sags because the hinge was set into soft material at installation. Maintenance: a hinge screw that loosens after a year of use and needs a quarter turn.
- Defect: siding that lets water behind it because a flashing was wrong at install. Maintenance: siding paint that’s chalking because it’s been eight years.
- Defect: caulk that pulls away within the first weeks as it cures. Maintenance: that same caulk line at fourteen months after a season of heat.
If you’re not sure which side of the line you’re on, that’s a good reason to call. We’ll look at it and tell you honestly. And when it is a defect, our 365-Day Done Right Promise means we come back and fix it at no charge. When it’s a repair you’ve scheduled, there’s a free second visit if it fails, no service call fee and no re-inspection charge.
How to Document What You’ve Done
A maintenance log is the difference between a smooth warranty claim and a frustrating one. Here’s how to keep one that helps you.
- Photograph every check – joint, date, phone camera. A timestamped photo of a caulk line in good condition is proof of diligence.
- Keep receipts for materials you bought to do maintenance, from the tube of caulk to the paint.
- Note what you didn’t touch as well as what you did. “Did not re-caulk shower floor, still intact” is useful.
- Store it with your project paperwork – the written price, the written guarantee, and the manufacturer documents all live together.
- Bring it to any repair visit. If we can see your log, we can usually tell in a minute whether a failure is maintenance or workmanship.
For a real reference on the workmanship side of the paperwork, look at our Penhallow Remodeling Frisco home page and the written terms we put in front of every homeowner before work starts.
The Annual Checklist After Year One
Once the first year is behind you, the rhythm slows down but doesn’t stop.
- Every spring: walk the exterior – siding, trim, paint film, and caulk at windows and doors – before the heat arrives. Check for fastener backing out of fiber cement siding.
- Every spring: check the grading and drainage around the foundation. In Frisco, standing water at the slab is the number one cause of the movement you feel inside.
- Every fall: re-seal grout and caulk in kitchens and baths, and re-check weatherstripping before the first freeze.
- Annually: test all cabinet hardware and door hinges, tighten as needed, and re-check every transition joint.
- Annually: re-read the manufacturer documents for anything that came with a schedule you haven’t reviewed since install.
One more note for the exterior: if your project included hardscape or pavers, product like Techo-Bloc and Cambridge Pavers carries its own care guidance, and polymeric joints from Oldcastle or Quikrete products need a re-sand after a hard summer. That’s owner maintenance, and it’s the same every year.
Common Mistakes to Avoid
- Waiting for a problem before looking. A caulk line checked in month one is a five-minute fix. The same line checked after two seasons of heat is a water intrusion job.
- Setting hot pans on quartz. Cambria and Silestone resist a lot, but heat shock cracks them, and that’s not covered by anyone’s warranty.
- Ignoring humidity in a new bathroom. Cabinetry and tile both have a humidity range. A poorly vented bathroom out near Panther Creek will show it first on the cabinet frames.
- Fixing foundation symptoms with more caulk. Cracked interior joints are a symptom. If they keep coming back, get the foundation checked.
- Letting paint fail on fiber cement siding. James Hardie siding is durable but not paint-free, and the material warranty depends on you keeping the paint film intact.
- Throwing away the paperwork. The written guarantee and manufacturer documents are what gets a claim honored. Keep them in one place.
- Assuming a foundation crack under pavers and slab is the same thing. The first is often cosmetic hardscape settling. The second needs a structural look.
See the difference
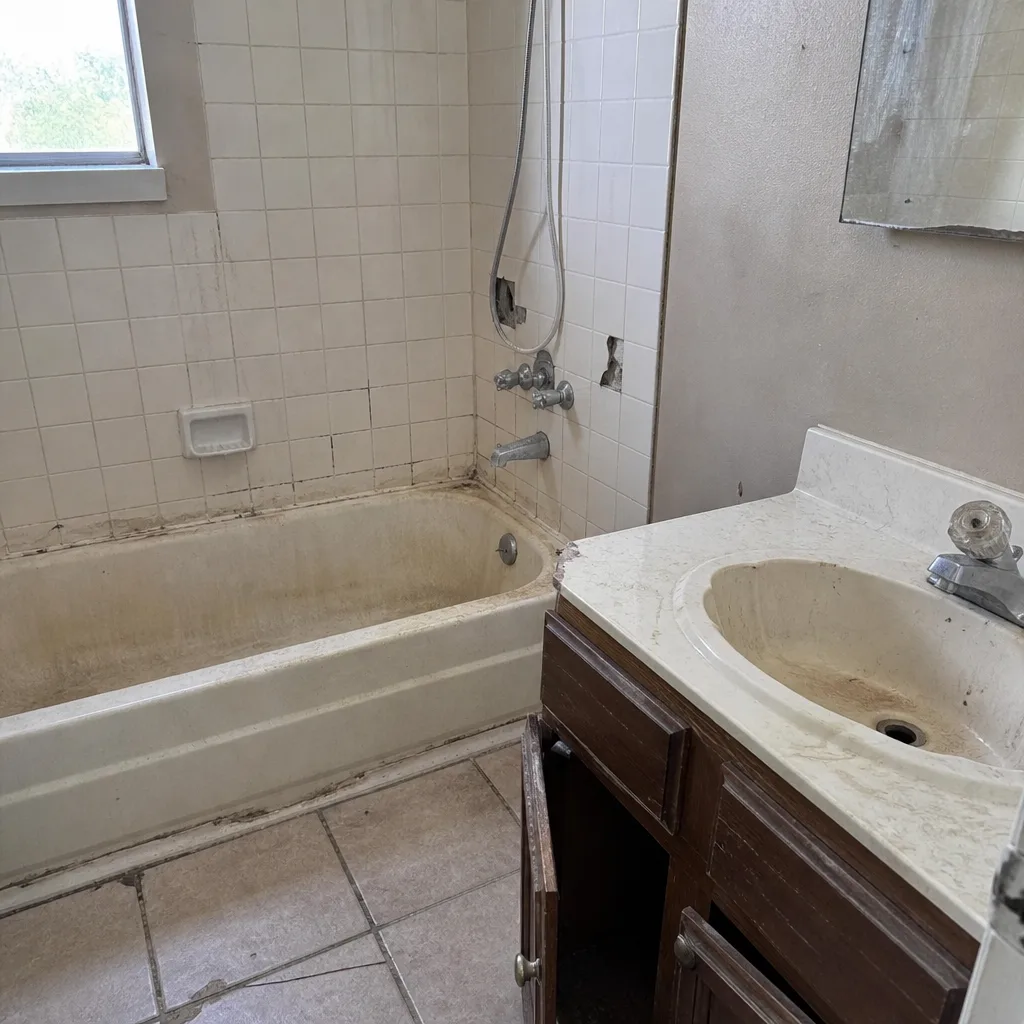 Before
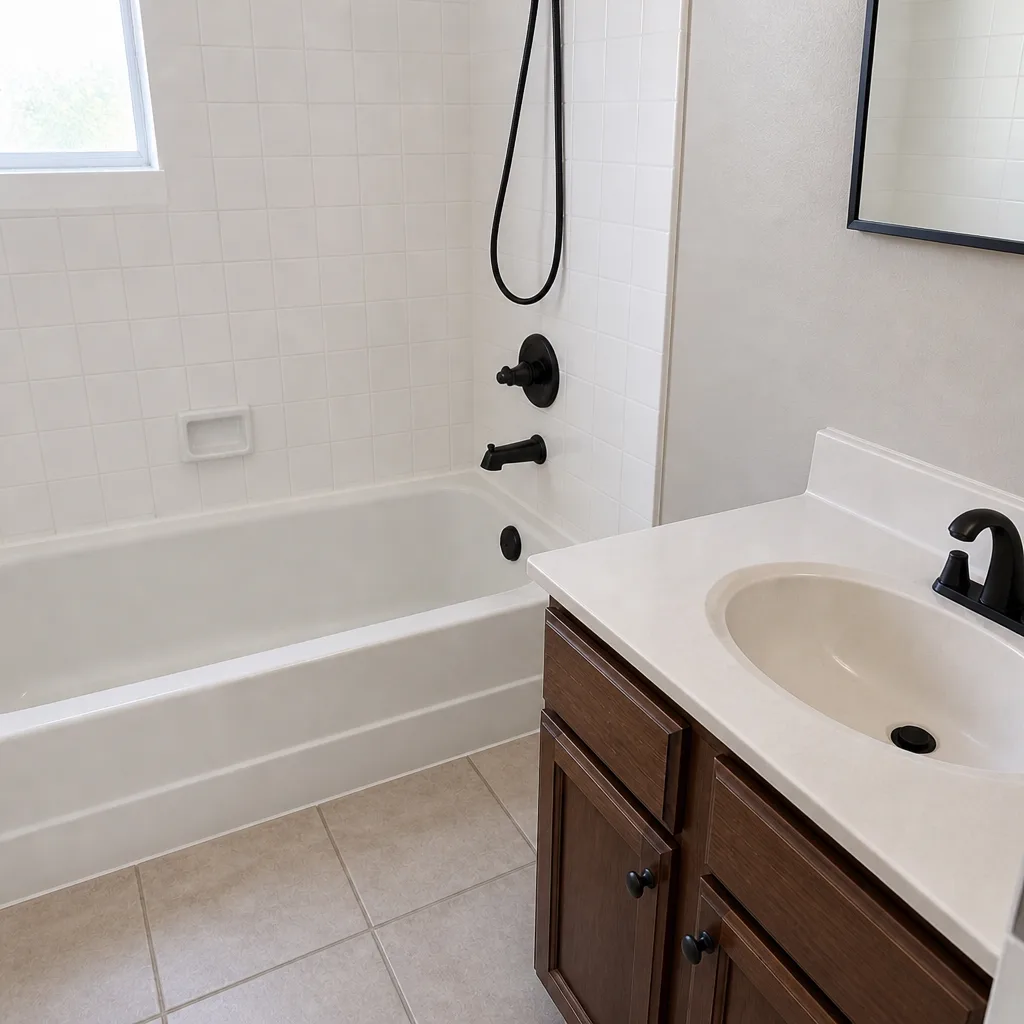 After
 Before
 After
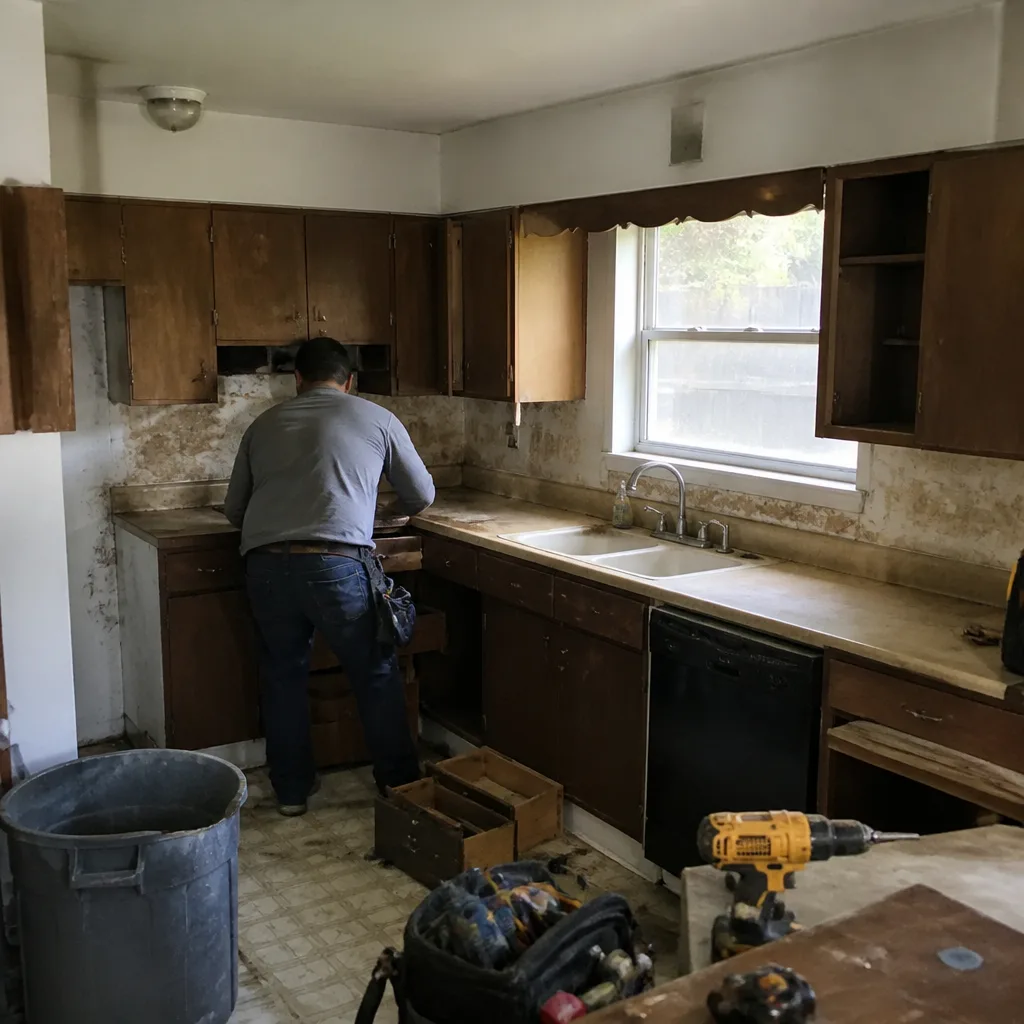 Before
 After
When to Call a Professional
Call us when a joint gap is widening season over season, when a crack appears in tile with a matching crack across the room, when water is getting behind siding or into a shower wall, or when you’re not sure whether what you’re looking at is a defect or aging. If you’re considering more work, the same channel covers it: our General Contractor in Frisco page walks through scope and what a written price looks like before anything starts. We also maintain dedicated references for Bathroom Remodeling in Frisco and Kitchen Remodeling in Frisco, where most of the maintenance items in this guide originate. Our technicians have up to 22 years of experience, are background-checked, and arrive in uniform, so you know who’s at the door. Penhallow Remodeling Frisco offers free estimates in Frisco – call (833) 954-5757.
Frequently Asked Questions

Yes. A written workmanship guarantee covers installation defects for its terms; it doesn’t cover owner maintenance the manufacturer requires. Keep both: maintain on the manufacturer’s schedule and our guarantee stays fully active behind the work.
Check at month one, month six and month twelve, then annually. The clay soil and the hot, dry summers here move joints more than in cooler climates, and catching a hairline crack early keeps it from becoming a repair. Call (833) 954-5757 if you’d rather we look at a joint you’re not sure about – estimates are free.
A defect is something installed wrong or failing inside its workmanship window; maintenance is what the material needs over time regardless. A hinge that fails within weeks is a defect. A hinge screw that loosens after a year of use is maintenance. If you’re unsure, call us and we’ll tell you honestly.
It can, if the manufacturer requires periodic care and the material was allowed to fail for lack of it. Siding paint, grout sealing and humidity control all carry conditions. Keep the documentation and the schedule, and you’ve met your side.
If a caulk crack reappears within weeks of re-sealing, or two cracks line up on opposite walls, get a structural engineer’s report before assuming it’s cosmetic. Maintenance covers the joint; the foundation needs its own diagnosis first.
Estimates and our initial look at a possible issue are free, and there’s a free second visit if a repair we did fails – no service call fee, no re-inspection charge. Call (833) 954-5757 to schedule a visit in Frisco.
The Bottom Line
A remodel introduces materials and connections with their own maintenance clocks, and the industry mostly doesn’t hand you the schedule. The first year is the busiest: check at months one, six and twelve, then settle into a spring exterior and fall interior rhythm. Watch the joints first, because North Texas clay shows up there. Keep the manufacturer documents, keep a simple photo log, and know the difference between a defect and maintenance. Our written price goes in before any work starts, and the 365-Day Done Right Promise backs the work after it. Call (833) 954-5757 for your free estimate in Frisco.
Written by the team at Penhallow Remodeling Frisco.